Showing posts with label C-Tags Bags Boxes and More. Show all posts

Thursday, December 23, 2010

Baking day treat box


Today was the first of two Christmas baking days at our home.  I started old fashioned over night yeast rolls that will be baked on Thursday morning (and they are heavenly), magic bars, and tea balls.  I had hoped to finish more baking but my older son and his lovely girlfriend arrived mid afternoon to visit for a few days.

I was thrilled to see Aaron and Crissie, but especially Crissie.  This is going to be a horrid holiday season for her and I knew she would need lots of hugs.  Crissie's father passed away unexpectedly last Monday (the 13th) and she is still in shock. Also her mom is too hurt to even consider Christmas at their home so I know this is the closest to real Christmas as she will get this year.

I have several things planned to keep Crissie busy, but also lots of quiet time so that she can talk.  Tomorrow (or is that later today?) we plan to have the annual cut out cookie decorating event.  It is an activity that we all enjoy - decorating the cut out cookies as crazy and funny as we can make them!  (I will post photos later in the week).  Tonight we went out for a lovely dinner at a nice restaurant followed by a short shopping trip.  Later Crissie and I talked for about two hours.  Tomorrow she will be helping me bake as well as seeing a bit more of the Aiken and meeting more of Aaron's old friends who are also home for the holidays.


In the meantime, I mentioned at the beginning of this post that today was day one of two baking days.  I am making the rolls to share with neighbors (in the decorated paint cans I posted recently), as well as a few friends.  I knew I would need a couple of small treat contains for our single neighbors.


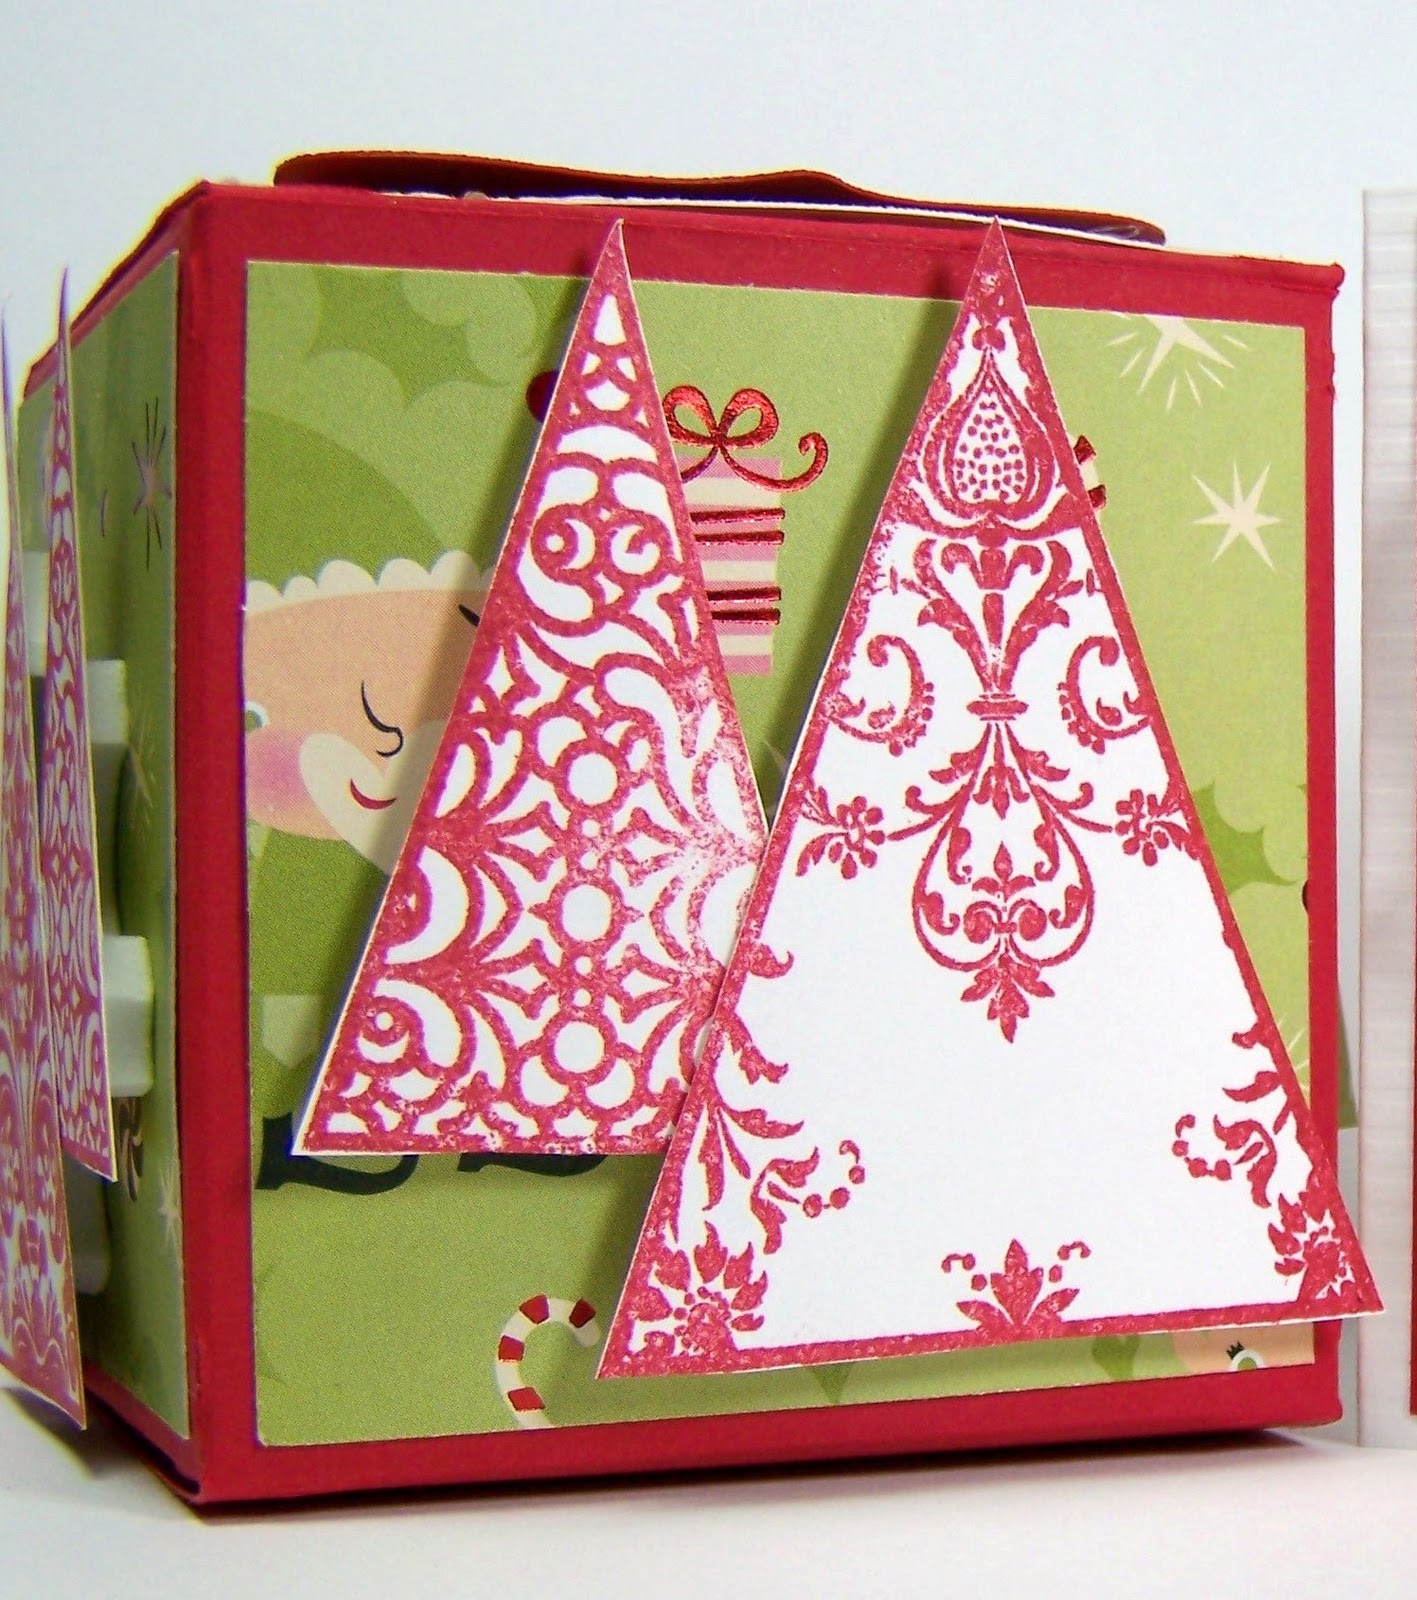
I used the popcorn box from Tags, Bags, Boxes and More to cut my base box.  I welded the scallop from Plantin Schoolbook together in a pattern similar to the the angle of the popcorn box.  This allowed the cut scalloped trim to fit the popcorn box nicely.   I also made a matching flat strip to wrap the middle of the trim.


I cut a layered snowflake from Accent Essentials and tied it on to the corner of the box.  I added layered prima flowers in the corner as well.  I finished the popcorn box with holly peelies and green tissue.  I will be adding treats and a handmade card before delivering the box to my neighbor!


Hopefully I will be back tomorrow with photos of this annual crazy cut outs adventure to share!

Tuesday, November 23, 2010

Kickin' Off Christmas Blog Hop Day 1


Welcome to the Kickin' Off Christmas Blog Hop!  You may have arrived here from Penny Duncan blog.  This blog hop will feature SP and Company Products and Amy Chomas Products.  Both companies off have wonderful and unique crafting tools. 

Now that I have finally begun my Christmas shopping I have also begun to think about packaging and wrapping.  I love nice packages and bows and tags.... And I love the look of the packages under the tree.  This year I thought I could craft a few personalized boxes and bags just to make things a bit more special.


For today's box I used the square box on the Bags, Tags, Boxes, and More cartridge.  I cut the box in red cardstock and covered the top and side squares with fun Christmas scrap paper.  


Using Stampin' Up Red Riding Hood red ink and SP and Company Christmas tree stamps, I stamped red trees onto smooth white card stock.  I used micro tipped scissors and cut out the trees.  The trees where then attached to the sides of the box using pop dots. 


Next, returning to the Cricut I used the Amy Chomas gel pen holder and the Create a Critter cartridge and wrote the word JOY on red cardstock.  I used the Storybook cartridge and cut a tag shape around the work JOY.  Using pop dots the red tag was affixed to the top of the box.


I also created a matching gift card to go with the gift box.  I cut a white base card and attached a red cardstock square topped with fun Christmas paper to the front of the card.  Just as I did for the top of the box, I used CAC and SB to create the red tag for the front of the card.  I also popped a stamped tree to the front of the card.


I truly think the SP and company stamps work well with my Cricut cut gift box and card set, and that the Chomas Pen holder added a perfect finishing touch to the card and box.  I really like to mix stamping in with my Cricut cuts.


Before you hop on be sure to leave a comment below.  Everyone who leaves a comment will be eligible for a Custom Crops gift voucher drawing.  Remember that Samantha is also giving away a stamp set.  And finally, I will be giving away a copy of my DVD set, It's a Kid's Life - which features 18 layouts, video and pdf instructions along with cut files.  I will choose someone from all of the Tuesday and Wednesday comments.

After leaving your comment below, the next stop on the blog hop is the Cards by Linda blog.  Enjoy your hop!!!

I will be back tomorrow with another blog hop project. 


Susan Edwards You are Here!!

Monday, November 22, 2010

Hello Kitty BBTB2


Happy Bitten by the Bug 2 Monday!  Such a fun week is in store for all of us!  Of course with Thursday being Thanksgiving Day here in the U.S. this is already a special week!  But on top of that, today is BBTB2 with HELLO KITTY (you KNOW I ADORE Kitty!), tomorrow is the first day of the Kickin' Off Christmas Blog Hop as well as my 29th wedding anniversary(!), Wednesday is day 2 of the KOC Blog Hop, Thursday is Thanksgiving and I will share the details of my North Pole house, and Friday is BLACK FRIDAY!   I think MFK (my friend Kathy) and I are planning a Walmart run!!! And of course in the midst of our crafting fun I will be preparing the traditional big meal as well as a finger food buffet for Wednesday night.  Whew! Busy week.


The challenge cut this week at BBTB2 is Hello Kitty in her elf/Santa outfit (HK19).  This cut was selected by my sweet Design Team sister and team leader Heather, who probably doesn't even know about my love for Hello Kitty. I decided to take the HK project a bit further, because I always find inspiration when Kitty is involved.


I started with a basic box from the Tags, Bags, Boxes and More and Cricut Design Studio.  I chose the 12 x 24 inch virtual cutting mat and placed the box onto the mat at 9-1/4 inches tall by 17-1/3 inches wide.  I decided that I wanted to place the Christmas tree next to Kitty, so placed the outline on the mat at 5-1/4 inches tall by 4 inches wide.  I then placed the tree center cut into the front section of the box.  I did NOT select weld.  This way when I cut the page the shape of the inside of the tree and tree stand only cut out.  I glued a square of acetate over the inside of the opening.  The tree outline, star and package pieces were cut on the same mat.

A word about the cardstock I used to create this box:  The cardstack was purchased through Darcie's when I attended a stamping expo.  However, you can order their large printed cardstock on-line.  ( I would have added the link but as of Sunday evening as I type this post their site is down).  The cardstock measures 18 x 12 inches and is a wonderful weight for boxes and cards cut on the Cricut.  Also their printed cardstock comes in a variety of prints - seasonals, birthday prints, manly prints, fun prints, plaids, etc.

Page two of the cut file uses a regular 12 x 12 cutting mat.  On this mat I placed the HK19 Hello Kitty card cut at 3.5 inches tall.  All of my Hello Kitty pieces were cut with the Cricut set at 3.5 inches. I cut Kitty in white smooth cardstock, her outline in black and her clothing in metallic green and red.  After assembling the card front, I applied glue to the white portions of Kitty's body and covered them with white papersoft, creating the illusion of "fur".  I then attached Kitty to the base card and affixed them to the front of the box.  This assures that the TO/FROM tag will stay on the box.


The last piece of the box ensemble is the Merry Christmas to You tag hanging from the bow.  I used my set of JustRite Christmas stamps and scalloped punches to create the tag.  I then attached it to the ribbon and bow at the top of the package.

My daughter saw the box on my scrapping desk and told me that she hopes to see the box under our tree with her name in the "TO:" area.  I think there is a very good chance that she will get her request!!!


I will see you back here tomorrow for the Kickin' Off Christmas blog hop!  The goal of the blog hop is to use Amy Chomas products and SP and Company products.


One last note, please remember that you can vote for Capadia's (Diane) entry in the Creative Memories contest once every 24 four hours.  Please click HERE to go vote today and go back and vote again tomorrow!!!  Diane is a true delight and has done so much for sooo many in the paper crafting community.  I would love to see her win this contest and the cruise.

Monday, September 13, 2010

Chocolate Bar box for my favorite Gobblins


Happy Monday bloggers!  My first project of the week is the weekly BBTB2 project.  This week's challenge cut was selected by the lovely and amazing Regina Easter!  Regina chose the crayon box on Cricut's Tags, Bags, Boxes, and More cartridge.  For those who may  be interested, the last time I checked TBBM was available at the Cricut rewards site for 800 points.


Obviously I chose to go with a Halloween theme for this challenge.  I was thinking of my favorite little neighborhood gobblins and designed a spooky-fun box to hold full-size Hershey chocolate bars.  As an added bonus the will also hold two of my large cut out sugar cookies! 


I used several additional cartridges to decorate my tick or teat boxes including: Storybook for the the tag, Happy Hauntings for the fence with the creepy bird and the bat, George for the moon shape and background rectangle, and Celebrate with Flourish for the Happy Halloween title cut.  I used fun Halloween papers and I added a square of sticky Velcro to the flap for secure closure.


I embossed the tag and added white pen dots to enhance the edges.  I also added black dashes around the half moon on the flap.  I finished the box off with a bit of black rick-rack along the top edge. 

If you have not already been by the Bitten By the Bug 2 blog today, click on the name and you can view the design team's amazing projects.  I will be back tomorrow with a new Yudu project to share!!


Monday, May 10, 2010

BBTB2 - Peggy Loves Vintage Sponsored TBBM Challenge


Good Monday morning bloggers!!  I am finally back in the groove (!) and have several projects to share with you this week.  The first project is, of course, the weekly Bitten by the Bug 2 challenge.  This week Peggy Loves Vintage is sponsoring the challenge.  We were provided with several of Peggy's fabulous vintage images from which to choose to create our project.  We also had to use a specific tag from Tags, Bags, Boxes and More on our projects. 


As you can see I took the road less traveled (note all of the blue projects at BBTB2 this week) and chose this cute hula girl.  She looks so happy with her little ukalie and her fabulous tropical flowers; I thought she was a perfect canidate for an easel fold card.  I began by cutting a frame for my image by using a tag from Just Because Cards and adding an oval cut out to the middle.  I then mounted the framed on image on the required tag, using the tag as a matting.


I used fun and bright papers and added three additional layers of mattings... Because, let's be honest, you cannot have enough color when you plan to add "aloha" to the front of your card. I'm just saying....

As you all know, I missed last week's BBTB2 challenge which used the Life's a Beach cartridge.  What you do not know is that I purchased LAB *just* for that challenge... seriously.  So I had to make up for that by using LAB this week!  As I said above, I planned to use the Aloha cut. I liked the flower on the Aloha cut so well that I cut another for the front of the card, then I cut the flower border for the inside.  I think this more than makes up for missing last week's LAB challenge.


I hope that you will all check back through the week.  I have a few more cards to share with you AND on Saturday I will be back at Everyday Cricut for my monthly project!!  Also, you will want to check Everyday Cricut daily because my design team sister and all around wonderful person, Donna Mundinger is Ms. May.  I promise you that you will not want to miss Donna's work.  WARNING - my jaw usually falls open while looking at Donna's paper art so be warned and do not take food or beverage to the computer with you!!

Monday, April 20, 2009

BBTB x Vintage Photos = One Great Challenge


BBTB x Peggy Loves Vintage = Fabulous Projects! That was Regina equation this week at BBTB. The designers were instructed to use the Inch Bag cut from Tags, Bags, Boxes, and More, and to embellish the bag with a vintage image supplied by Peggy Loves Vintage.


I chose the circus image, and made a cute little bi-colored gift bag on which to display the image. After some serious scissor time with image, I mounted the image on a scalloped circle created with my nesties.


The double paper effect is easy to achieve, just glue two sheets of paper together before placing the paper on the cutting mat. You can even do like I did and use a decorative punch on one edge of the paper before you adhere them together.

I finished my bag off with Stampin' Up stamps that I got for FREE earlier this year (I love free stuff!). The only down side was I smeared the craft ink a bit while adding the brads to the embellies.